|
Seafox Retrofit Manipulator & Camera
|
|
|
 |
|
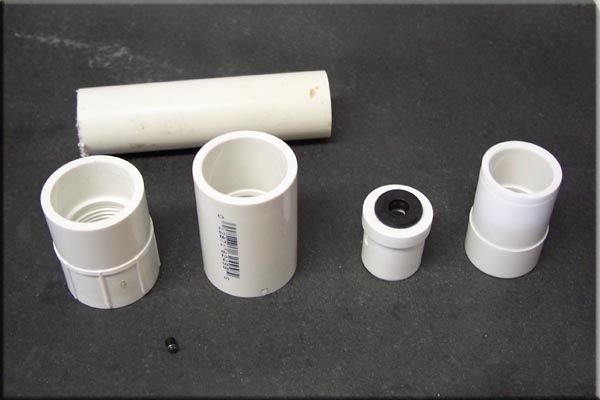
The New Manipulator was made from common PVC pipe and fittings, I didn't show the making of the actual arm because most of the PVC parts where machined to fit together and were designed as I went.
|
|
|
 |
|
After a few email request I have added the above drawing to show how the PVC parts make up the arm. My piece of 3/4" pipe was actually a little longer then shown on the drawing and there was short piece of another 3/4" Coupler that was machine to slide over the pipe to just make the housing part of the arm longer and one uniformed diameter. You can click on the picture to view a larger image of the drawing.
|
|
|
 |
|
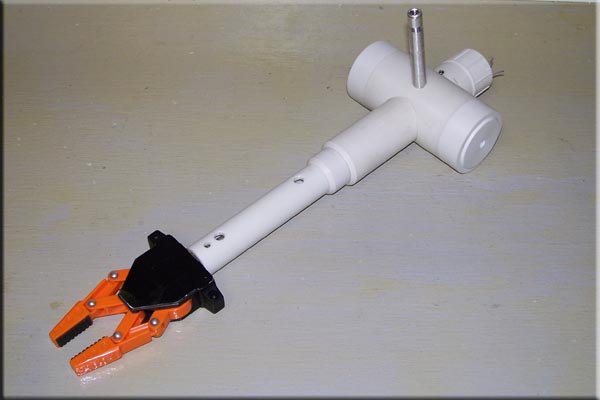
This is the completed Manipulator, the aluminum rod sticking up in the middle is the Camera Mount.
|
|
|
 |
|
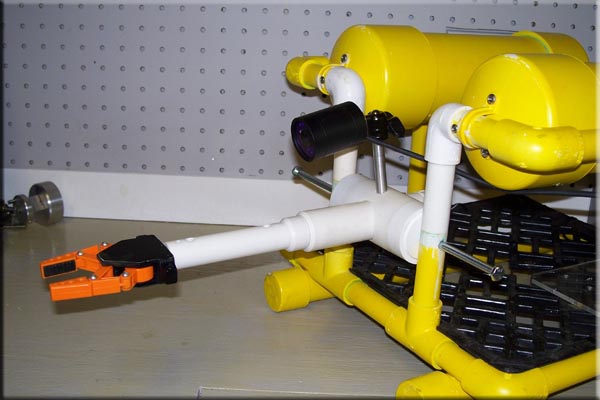
A few 1/4-20 bolts hold the manipulator in place for a quick mock up.
|
|
|
 |
|
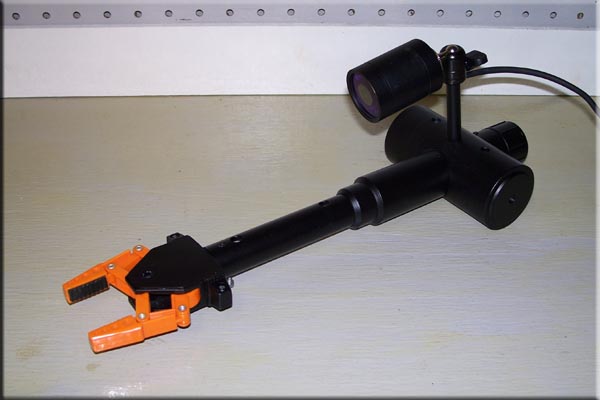
Here the finished assembly has been painted and the Camera has been mounted.
|
|
|
 |
|
The Gripper was taking from my original Seafox Manipulator which was hacked from a Radio Shack Armatron Toy. Here you can see how it functions, the Rod turns the worm gears which makes the fingers open and close.
|
|
|
 |
|
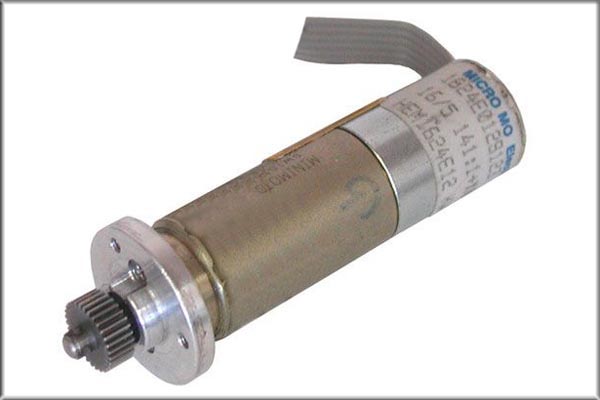
This is the geared motor that turns the Rod on the Gripper. The gear was removed and a simple shaft and adapter connects to the Rod on the Gripper.
|
|
|
 |
|
To seal up the Motor Housing on the Arm a use a simple PVC Plug, I start by drilling 2 small holes for the wires to pass through.
|
|
|
 |
|
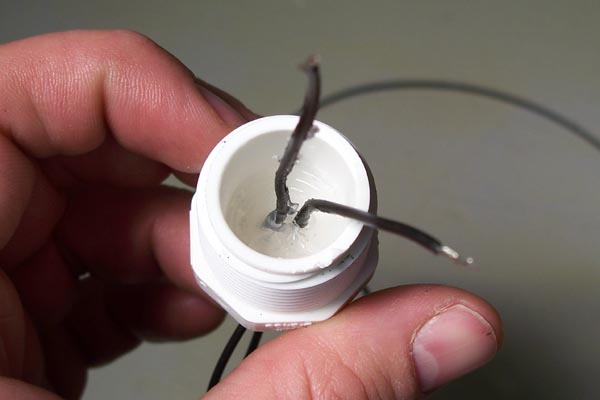
Next I add a little silicone in the bottom of the plug. I use silicone first so the wires has a bit of strain relief on them.
|
|
|
 |
|
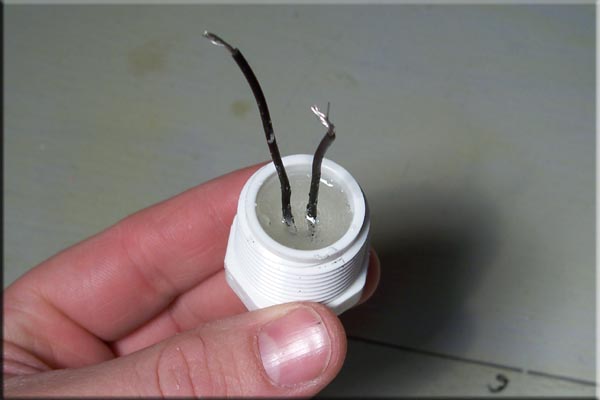
The final step is to fill the rest of the plug with potting epoxy.
|
|
|
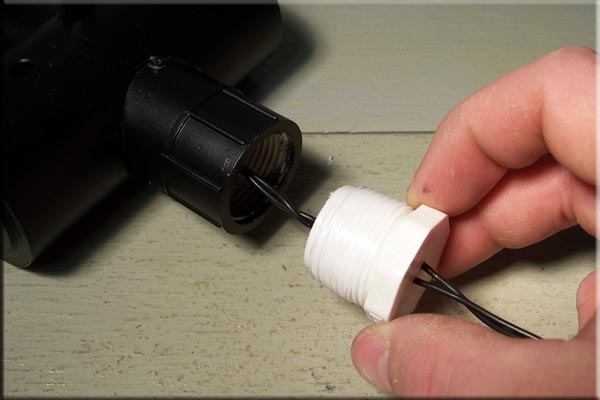 |
| The wires are then soldered to the motor and I pre-twist the plug and wires a few turns so the plug can be screwed in without the wires binding up inside the housing. |
|
|
 |
|
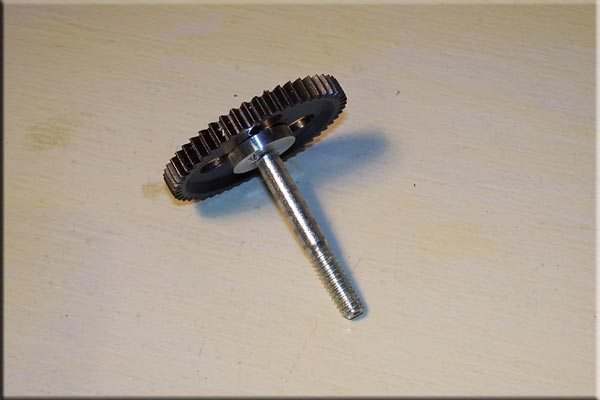
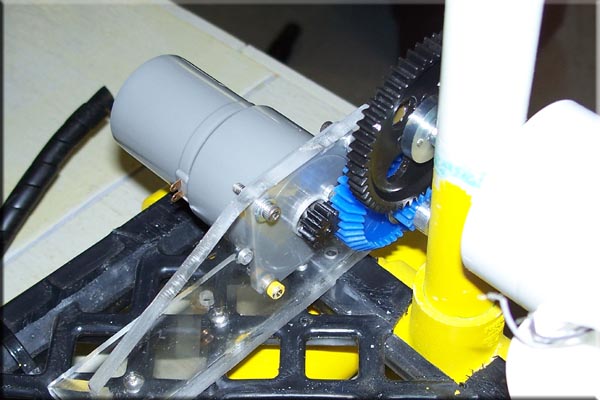
This is the gear and shaft that attaches to the pivot point of the Arm Mount.
|
|
|
 |
|
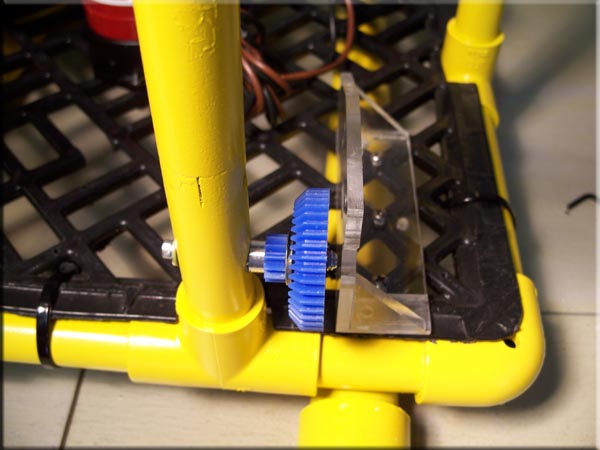
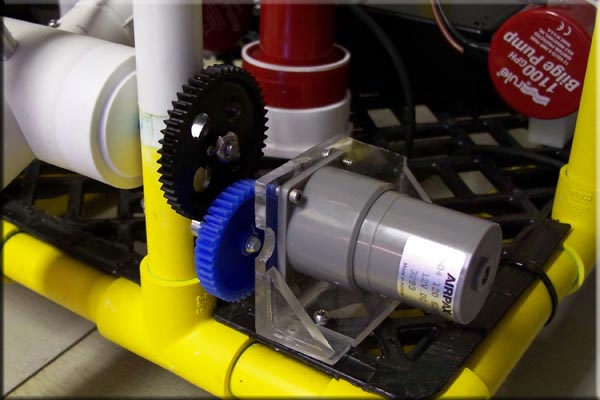
The next set of gears is attached to the PVC Frame....
|
|
|
 |
|
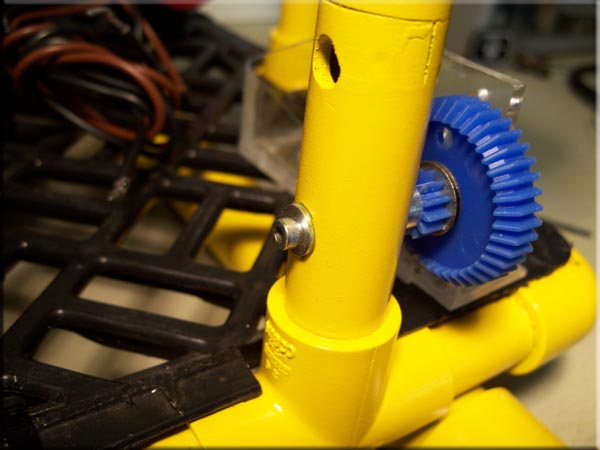
...and are secured to the frame with a 6/32 screw which still allows it to rotate freely.
|
|
|
 |
|
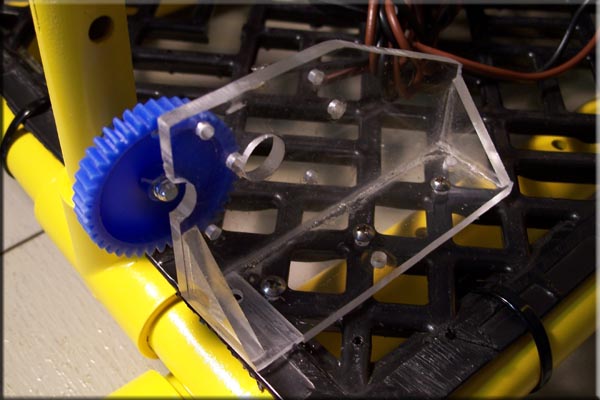
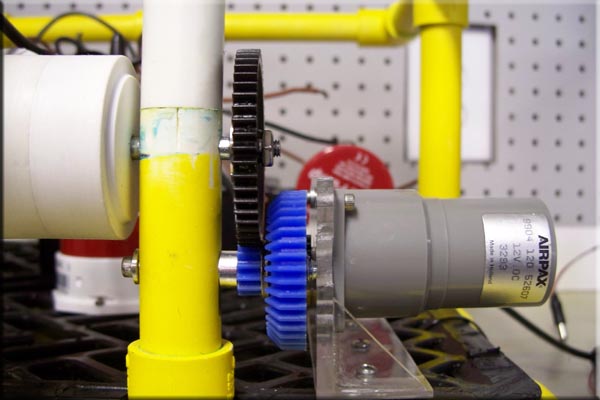
This is the mount for the Geared motor that will rotate the whole arm assembly.
|
|
|
 |
|
|
 |
|
|
 |
|
I used a Airpax 12VDC Gearhead Motor and 4 gears to get the right tilt speed I wanted.
|
|
|
 |
|
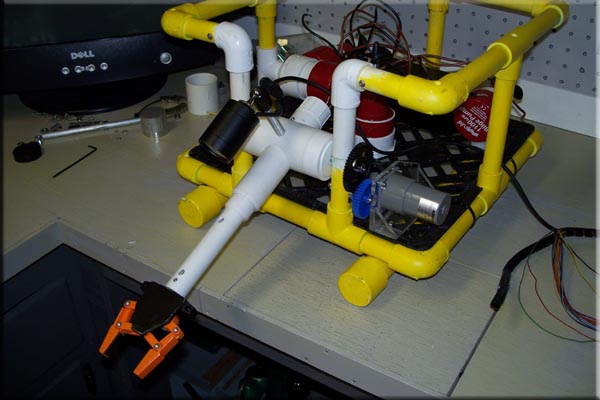
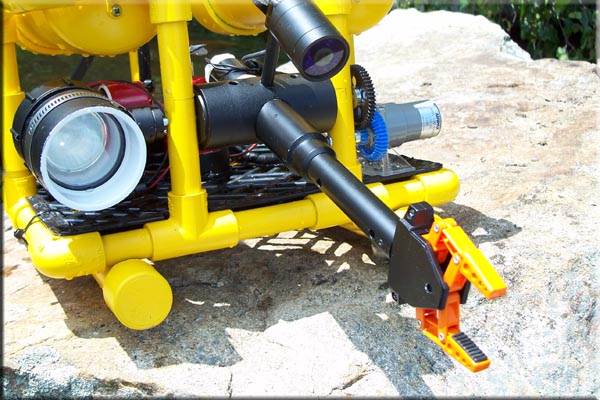
Here is the Completed Manipulator and Camera Setup. The main idea behind this design was to make it easier to pick objects off the bottom. With the ability to tilt the Manipulator Arm up or down I can now reach down to retrieve objects while keeping the Rov off of the bottom. Reaching down also helps to keep from kicking up silt from the Rov's thruster while trying to maneuver.
|
|
|
|
|
|
Quick Video of the first test including what the view from the camera looks like.
|
|
|
 |
| This picture shows how the Manipulator can be manually rotated, here the grippers are in the vertical position but they can be rotated to any angle depending on the requirements of the dive. The only downside is I have to surface to manually change the angle. Some day I plan to add another motor to allow the angle to be changed on the fly. |
|
|
 |
| All Information, Pictures, and Material is copyright © 1998-2009 by Stephen Thone and may not be used for any personal or commercial purposes without the consent of the author. All rights reserved. The Author makes no guarantees or warranties as to the accuracy or completeness of, or results to be obtained from accessing and using the Information herein. | |||