|
New Thruster
|
|
|
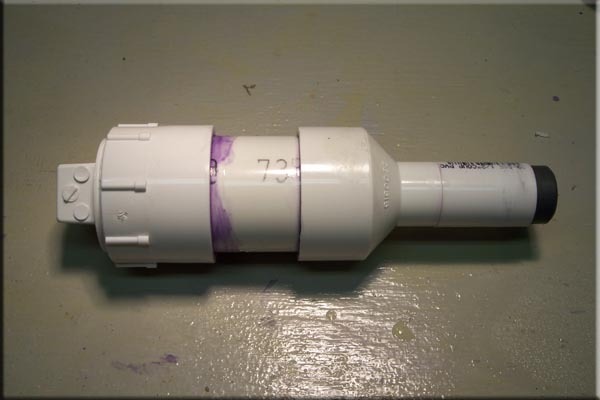
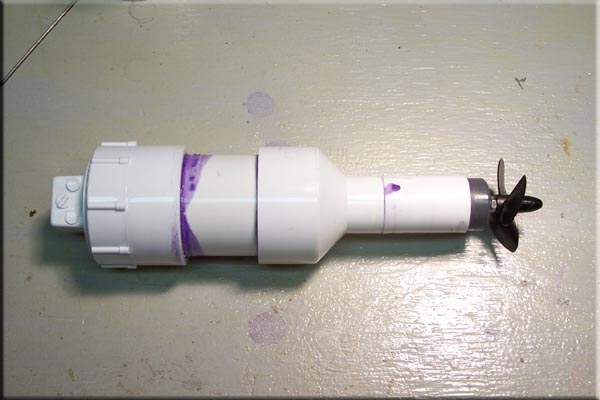
| This really isn't a New Thruster but it is based off of my Thrusters I made for the Stinger. The Motors and Seals where bought years ago to fix the shortcomings of the Stinger Thrusters but its taken me this long to get around to it. I decided just to make a whole new housing to better present the info on this page so it would be easier to find. These housings are a bit smaller using 1 1/2" Pipe and fittings compared to the original Stingers 2" ones. I have previously tested the seals I will be using to 200' in my pressure chamber but that was with a stationary shaft they still need to be fully tested with it rotating.
While this thruster design is relatively simple and cheap to build some of the pieces do require machining so if it works out it still will not be for everyone to build. |
|
|
 |
|
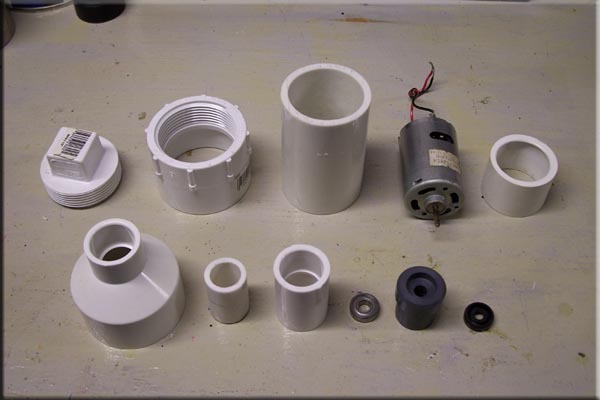
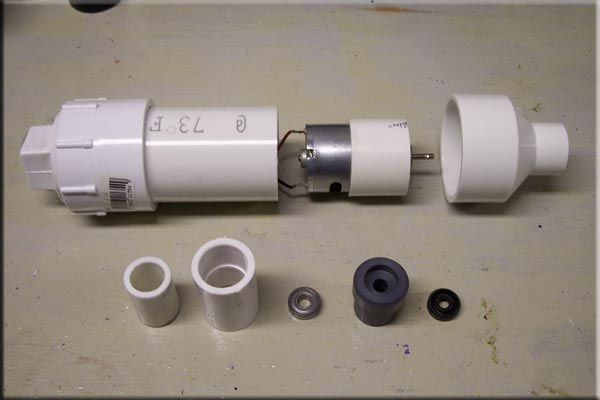
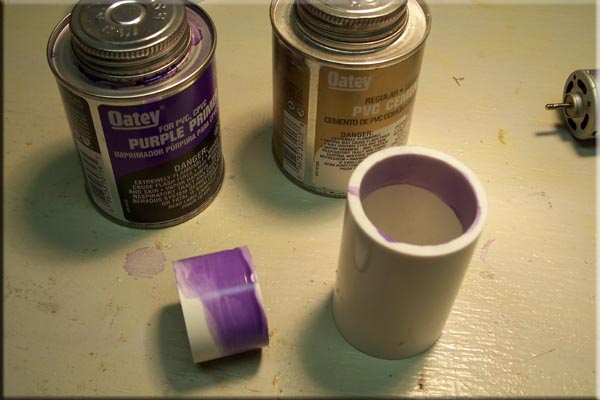
These are the pieces of the new Thruster I am working on. It is made of mostly common PVC Pipe and Fittings and construction is pretty basic.
|
|
|
 |
|
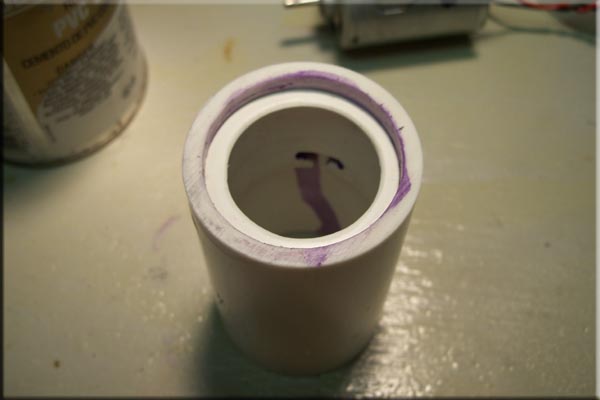
This is a mock up of the main housing.
|
|
|
 |
|
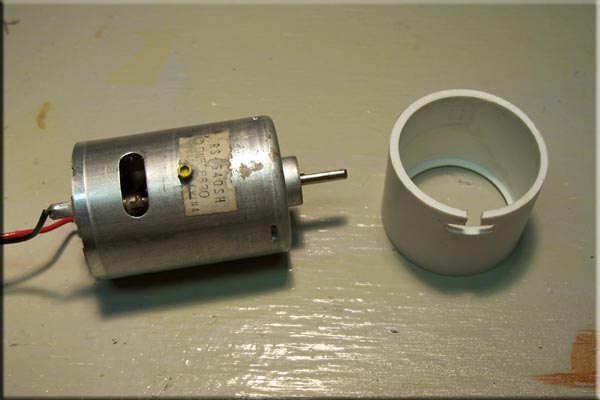
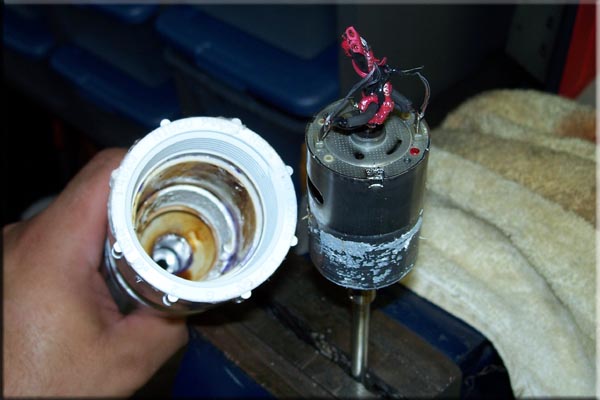
The Motor I am using is a basic RS540 can type motor and the mount was machined from a PVC Coupler.
|
|
|
 |
|
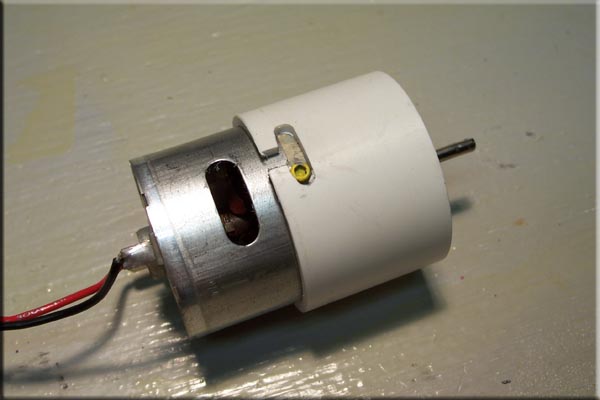
The Motor is press fit into the Mount but I drilled and tapped a 2/56" screw in the Motor Body to keep the Motor from spinning in the Mount. The Mount has a T-slot cut in it to accept the screw head.
|
|
|
 |
|
Here you can see how the Screw locks into the T-slot in the Mount.
|
|
|
 |
|
Next using some PVC Primer and Cement the Mount is glued into the main piece of the Housing.
|
|
|
 |
|
The Mount has been glued in.
|
|
|
 |
|
A quick test fit of the Motor.
|
|
|
 |
|
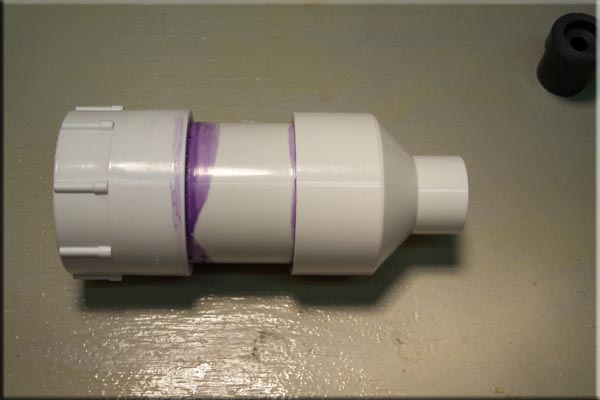
Next I glue on the Front and Rear PVC Pieces to complete the Main Housing.
|
|
|
 |
|
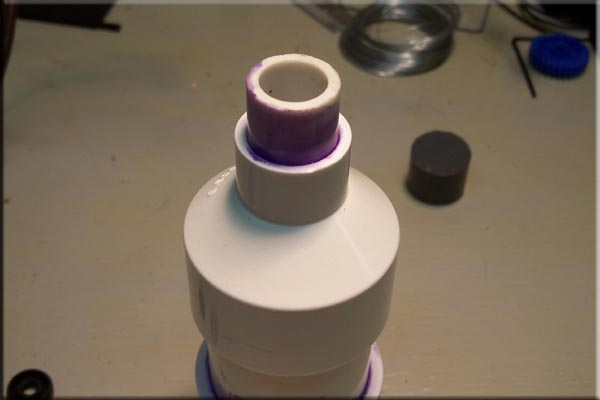
I then glue in a 1/2" piece of pipe.......
|
|
|
 |
|
......and a 1/2" coupler follows that.
|
|
|
 |
|
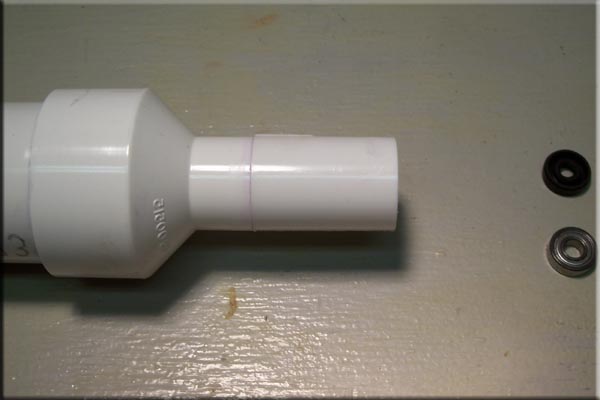
This is the important piece it will hold the Bearing and the Shaft Seal. It was machined from a solid piece of round PVC. Originally when I came up with this design I was going to just use a PVC Plug and did my original test of the Seals using a Plug but when I when to go buy one to actually build this Thruster Home Depot stop carrying them so I had to order the solid Round Stock from McMaster Carr and machine my own.
|
|
|
 |
|
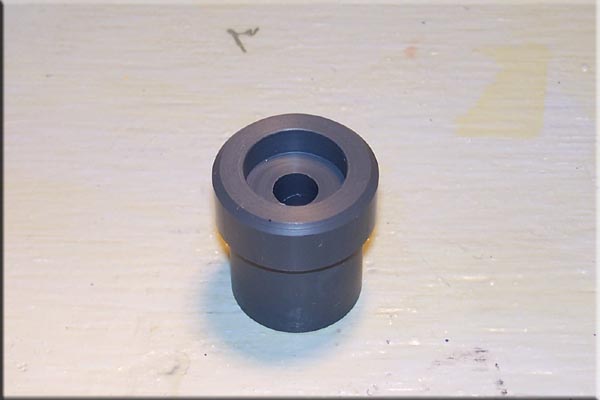
This is the back end where the Bearing will be.
|
|
|
 |
|
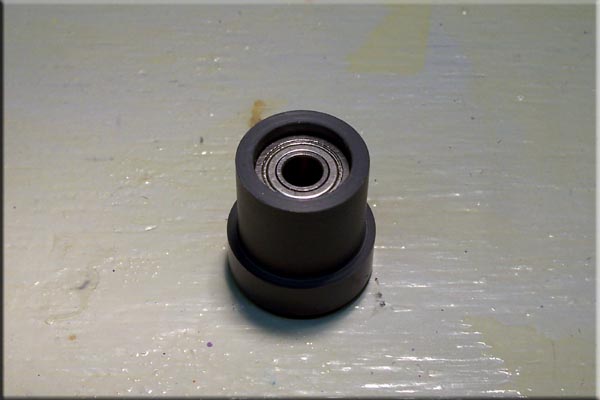
Here the Bearing has been press fit into the End of the Plug.
|
|
|
 |
|
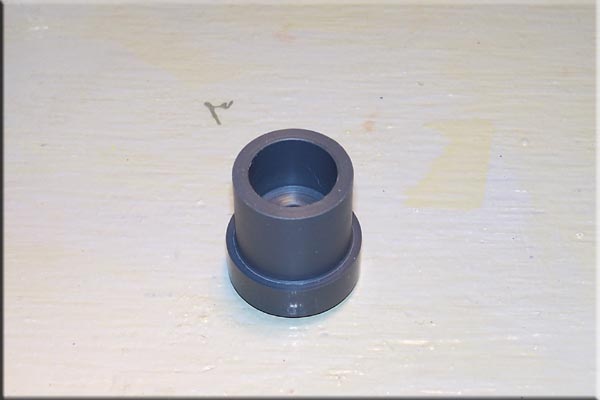
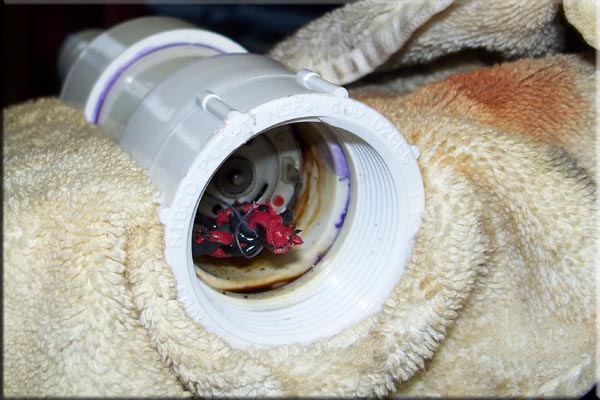
The Plug has been glued in, Hopefully the cement will glue the two different kinds of PVC together.
|
|
|
 |
|
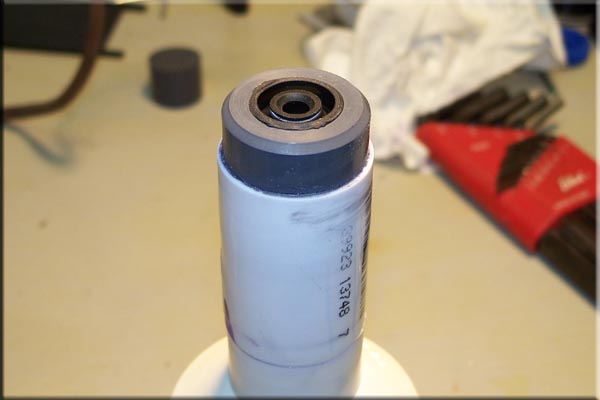
The Shaft Seal has been press fit in here.
|
|
|
 |
|
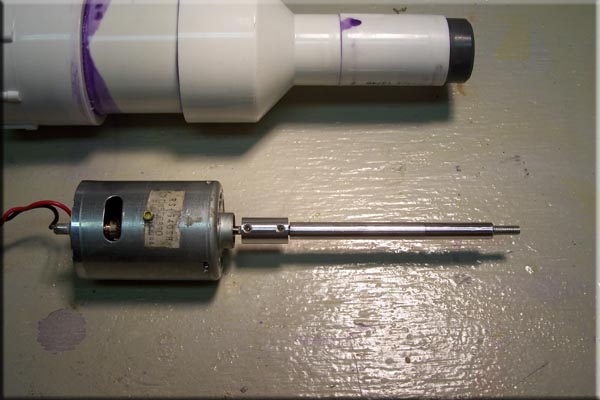
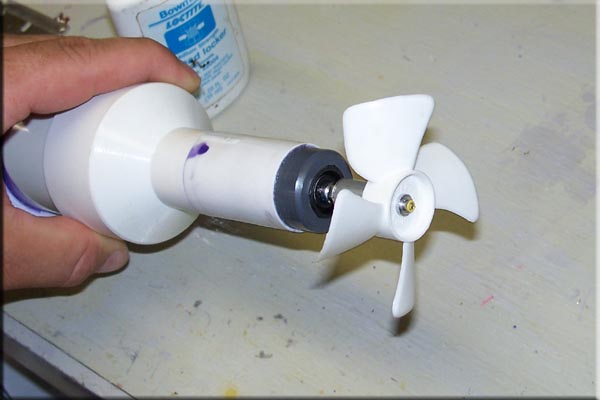
I machined a Coupler and Shaft from aluminum which was then polished.
|
|
|
 |
|
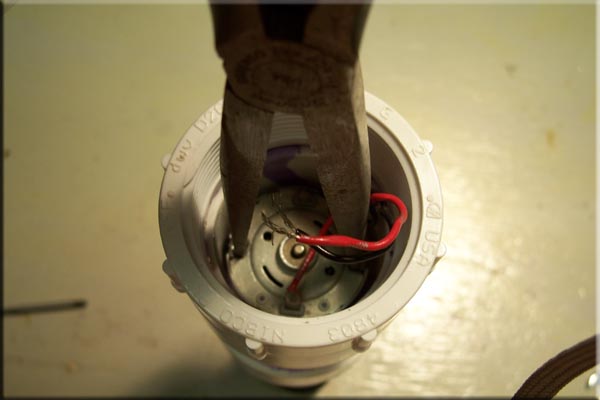
Using needle nose pliers the Motor is inserted into the Housing and locked into position.
|
|
|
 |
| The prop is screw on and the Thruster is almost ready for testing. I just need to wait until the wire exits have been sealed up. I still need to machine the Kort Nozzle but I want to test it out without one first. |
|
|
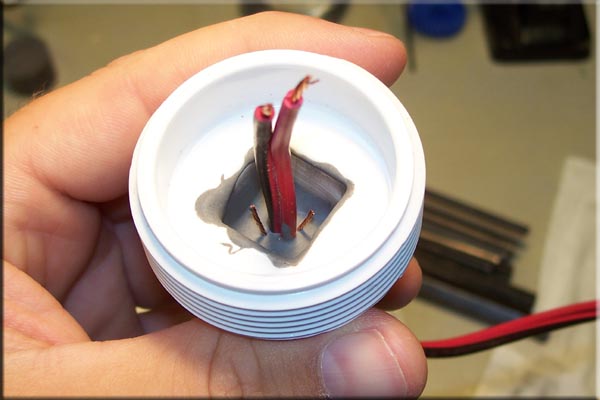 |
| I used my standard method of JB Weld to seal the wire exits, on this thruster I also added a extra pair of test wires. This pair of wires are stripped to expose the bare copper wire, here you can see how the wires are at the lowest part of the thruster when the thruster is stood on end. If any water is in the thruster it will cover the bare wires. This way I can test to see if any water is in the thruster with out opening it up. I do this with the use of an ohm meter if there is and resistance there is water in the thruster. |
|
|
|
I did some initial tests and I was a little disappointed. The thruster drew about 1.40 amps with no load (just the drag of the seal) and in the test tank it drew about 4.35 amps but it only put out about 1.5 lbs of thrust. I don't know why but I assumed it would be at least comparable to the converted bilge pump thrusters which put out about 2 lbs of thrust. These will still be good for the Stinger but I do have one other 4 blade prop that some one sent me (thanks Bruce) to test out still I just have to machine a new adaptor first, if that doesn't preform better I'll have to try different motors.
|
|
|
 |
| This is the other props I tested out. (which is on backwards in this picture :) They didn't work out so well either they put out just about the same amount of thrust but drew about 7.5 amps so I guess its time to try some different motors. |
|
|
 |
 |
| Well I did a run test tonight to see what would happen with heat build up and as you can see it didn't go so well. After about a half hour at full power it had a melt down (literally) I had a feeling this would happen which is why a ran oil filled housings on the original Stinger Motors. Before I try anything else I want to retest my old thrusters now that I have new meters and test stands and go from there. Updates will follow...... |
|
|
 |
| All Information, Pictures, and Material is copyright © 1998-2009 by Stephen Thone and may not be used for any personal or commercial purposes without the consent of the author. All rights reserved. The Author makes no guarantees or warranties as to the accuracy or completeness of, or results to be obtained from accessing and using the Information herein. | |||